Watch this tutorial on YouTube:
What You Need

- a pencil
- a pair of scissors
- a single hole punch - here's a nice one on amazon
- ruler (optional) - this is the fancy one we use at Cantrips Media
- paper cutter (optional) - what you see in the pictures
- the sheets you wish to add
- your notebook - Get a Player's Notebook Here or a Dungeon Master Notebook Here
Step 1: Prepare Your Sheets

The first step is to prepare the sheets that you wish to add to your journal. Be aware that journals from Cantrips Media use an 8-disc system. Our player's notebook sheets are roughly 5.5 inches by 8.5 inches. Our DM notebooks are 7 inches by 8.5 inches.
Keeping the size in mind, we recommend printing sheets using the booklet method for your player's notebook. If you're adding them to your Dungeon Master Campaign Diary, printing on paper sized 8.5 x 11 is fine. (We're in the US so this is the typical size here.) You could also consider legal-size paper for your dungeon master notebook. We have a list of all our supplies here (page coming soon).
In our YouTube video, we used this paper cutter to trim the sheets to the correct length. This offers a straighter cut but is not necessary.
Step 2: Mark the Mushroom Holes

With pages trimmed, it's time to mark the holes. Take one page out of your journal. We'll use this as a template page. If you plan on using this method often, you can create a template with heavy cardstock or cardboard.
Using your template page, trace an outline of the mushroom holes onto the pages. In our example, we mark the holes with an "x" and trace the stems only. You can trace the whole outline if that works better for you.
Optionally, you can measure your template page with your ruler. Then mark the holes according to those measurements. We find tracing the holes a much easier option.
Step 3: Punch Out the Mushroom Caps
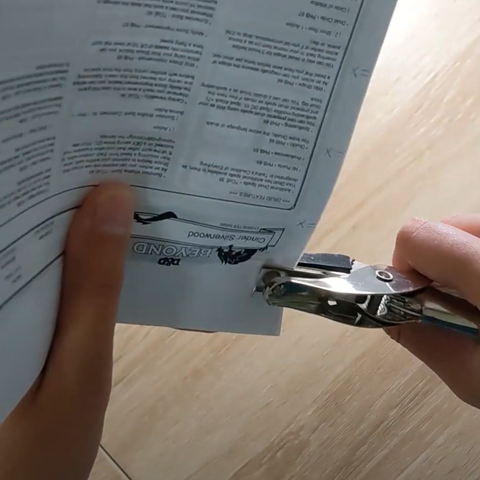
Using a hole punch, punch out the cap of the mushroom hole with the punch. If you used the "x" method, you want to line up the center of your "x" with the center of the hole punch. If you traced the mushroom, you want to line the curve of your hole punch up with the curve of the mushroom. Be sure to leave enough space between the punched hole and the edge of the paper.
Step 4: Cut the Stems

Next, take your scissors and cut out the stems of your mushroom shapes. This is to allow room for the discs. Make sure that your stems are smaller than the width of your punched circles. If they are wider, you risk your sheets falling out of the journal.
Step 5: Snap It In Place
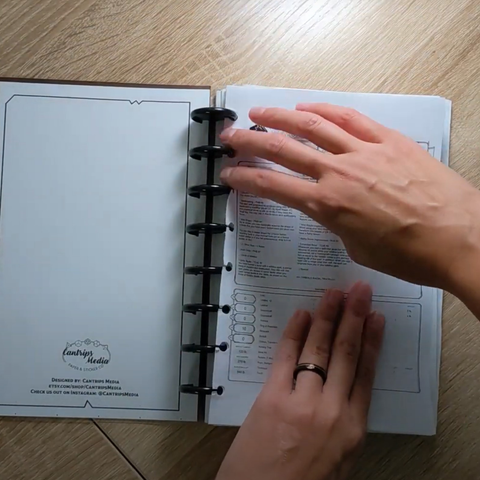
Then you're done! Add your pages in place and enjoy.
Want to punch more pages at once?
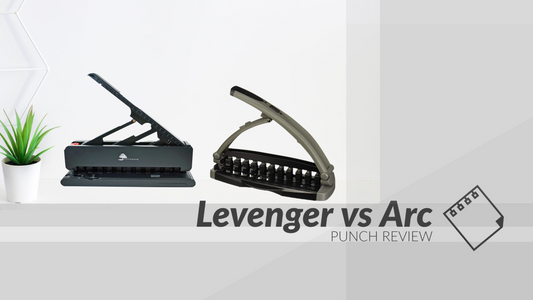
If you are adding a lot of pages to your journal, we recommend buying a punch. Consider one of the punches we've listed on this page.
Tired of Punching Pages Manually?
We also offer a variety of page packs for both: Player's Notebooks and Dungeon Master Notebooks.